Creating an Email Header

Aug 01, 2019
 93
93
If you would like to create a custom header for your client rather than using the default email header, follow the instructions below.
- Go to Dropbox > BuildingLink > Support > Graphics > Email Header Templates > Fancy Email header template.psd
- Open the folder with the photos for login on your second screen
- Drag the building photo you want to use onto the photoshop screen (normally the same image you used for the login page)
- Resize and move it accordingly
- Drag your building photo layer to the bottom of the layers section
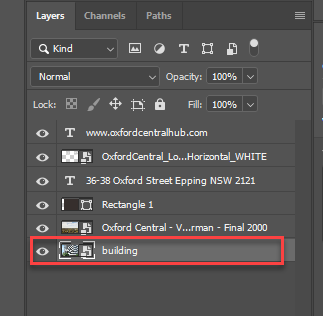
- Delete the Oxford Central Building Layer by going right click > Delete Layer
- Click on the ‘Rectangle 1’ Layer then on the Move tool in the top left corner

- Move the grey rectangle to where is the most appropriate for your image to be the background for your text
- You can adjust the opacity by clicking the arrow next to Opacity in layers and moving it up or down accordingly

- You can change the colour of your rectangle by going to the colour tool

- Next, add your logo by dragging it from the Photos for Login folder on your second screen into photoshop
- Move it onto your rectangle
- If your logo does not look good on your header, you can type the name of the building instead.
- Go to the layers section, right click one of the text layers and go to Duplicate layer
- Adjust the text to the name of your building
- To change the font, go to Type Layer Properties and click the arrow next to BellMT. You can adjust the text spacing and colour in this section as well.

- Right click the Oxford Central Logo layer and click delete to remove
- Click on the www.oxfordcentral layer to input website or other text you’d like on your email header and move to desired location, ensuring the move tool is enabled.
- Once you are happy with your email header, go to File > Export > Export as PNG and save your header in the Photos for Login folder for your building
You are now ready to upload your email header into your building. Enter your building and go to:
Communicate Module > Send Email > Manage Designs > Basic – Wide Banner Image > Edit > Upload Image > Choose your image > Save Changes
Click the Default check box in the Basic – Wide Banner Image box.
Your new fancy Email header is now ready for your client to use in their email communication. 😊

